Update Flow: Create Tags
This flow is used to read barcodes and create tags. It acts like add inventory, but will give the user clear information about a tag that has already been printed. Tag files will be created on the website in the “Tags” section, located on the left side menu.
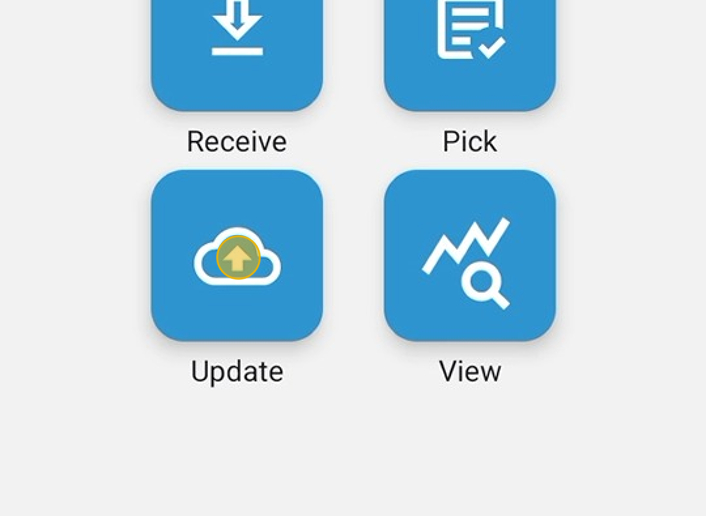
1. Tap “Update” on the home screen
2. Tap “Create Tag” on the Update Screen.

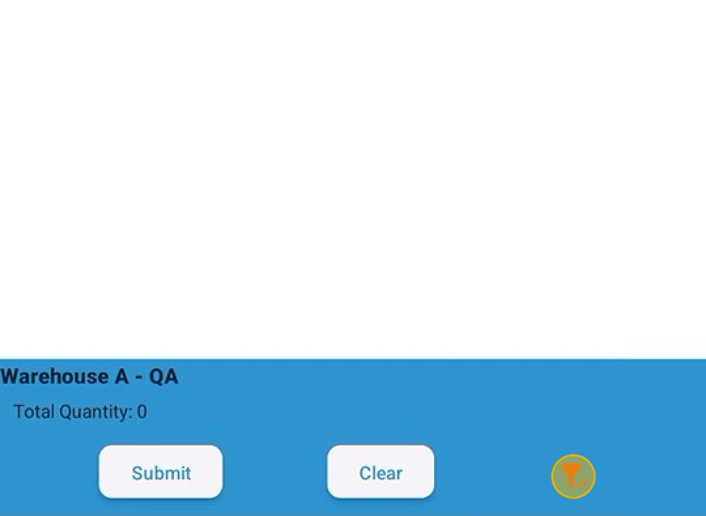
3. Before scanning, check the filter icon at the bottom of the screen. If it is red, tap here.
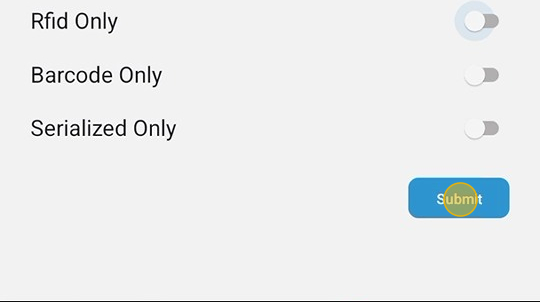
4. Review the filtering. Category, Vendor, Product Code, or HCPCS code can filter items. Change or set to scan only RFID-enabled Products, or Barcode only, as well as for products that are manufacturer-serialized. Be careful! Products must meet all the criteria selected. If RFID only and Barcode only are selected, nothing would show up, as they are mutually exclusive. The toggle beside the filters must be blue to be selected.
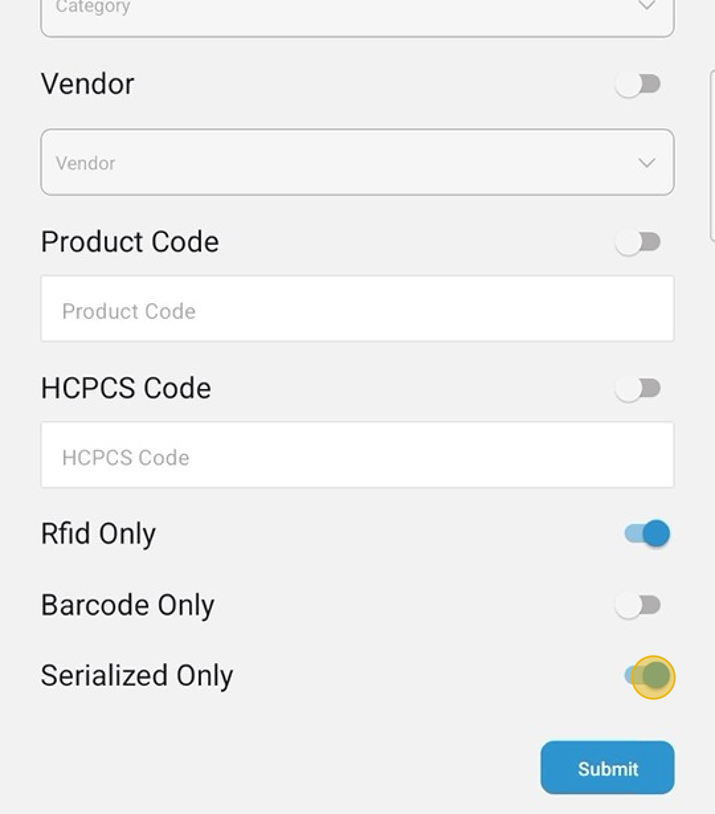
5. Tap Submit to apply the selected filtering. Filtering must be done before scanning.
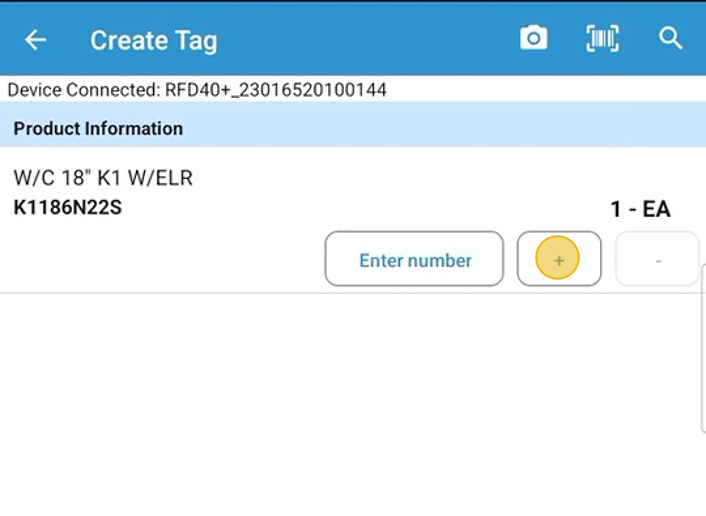
6. Scan a Product Barcode. Products that are not serialized will appear, and allow a user to enter a quantity for the number of tags to be created.
For Serialized Products, a serial number capture screen will appear. Regardless of the number entered, the quantity will be equal to the number of new serial numbers entered.

7. The User may tap the “+” sign to add one at a time or the “-” sign to remove one from the quantity.
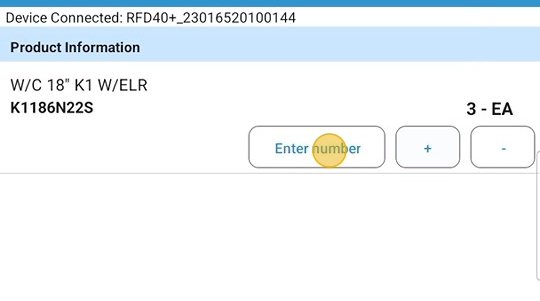
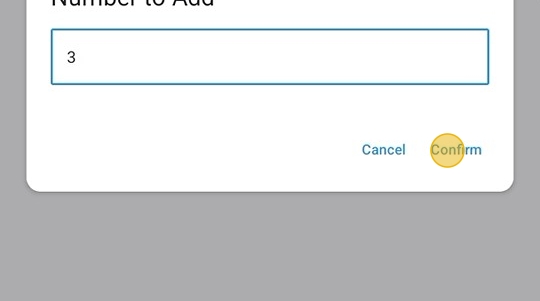
8. Tap on “Enter Number” to enter a specific quantity.
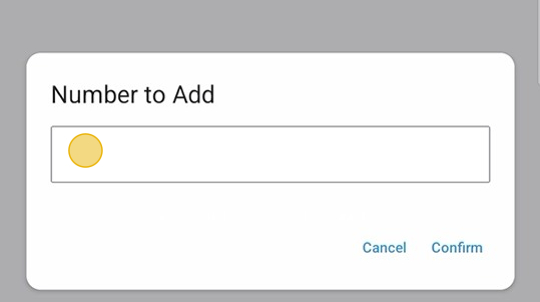
9. Enter the number needed here. Tap Confirm when done.
10. Click here
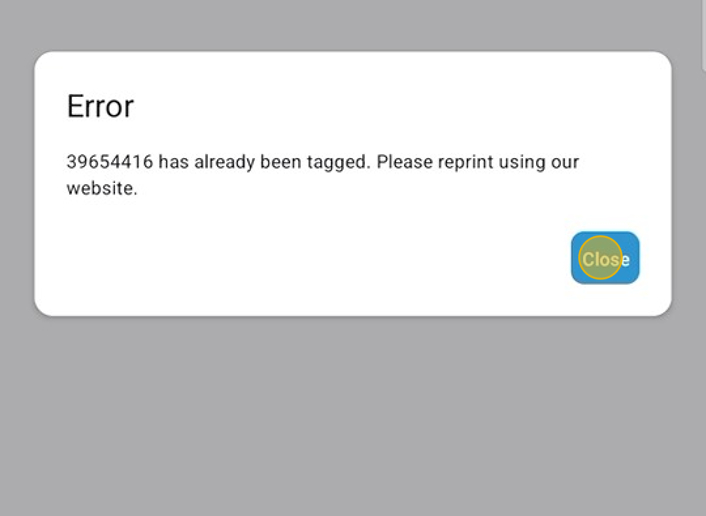
11. If a Serial Number barcode is scanned, it will appear on the scanned product screen if it is new. If a scan has already been performed and a tag created, the user will receive the error below.
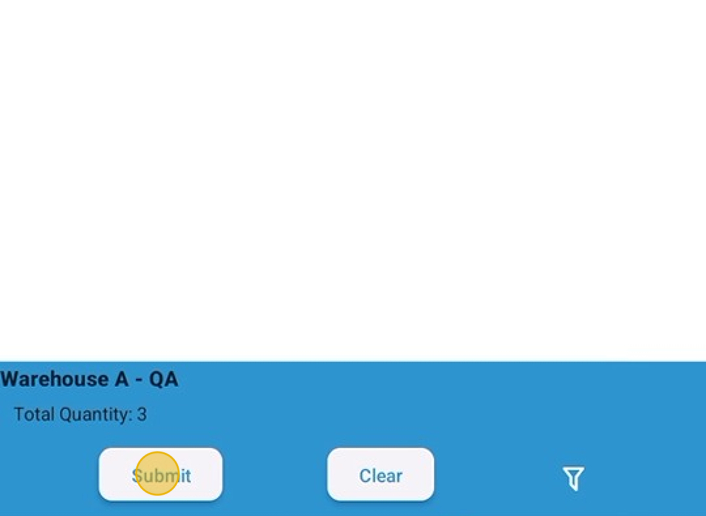
12. After all barcodes have been scanned, tap the “Submit” button.
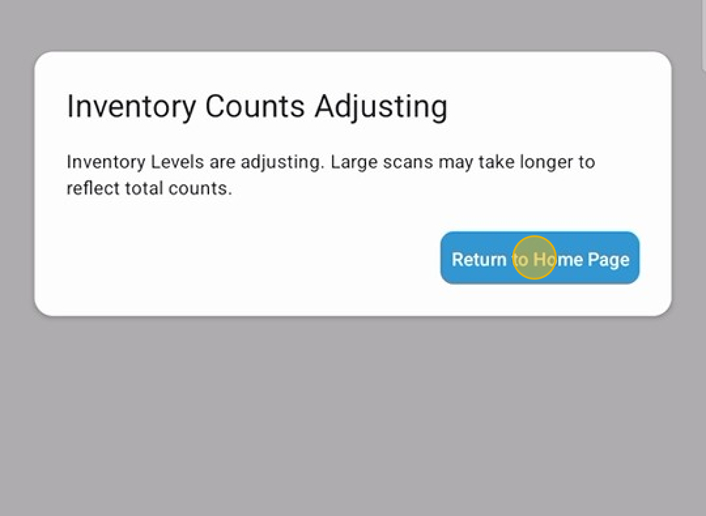
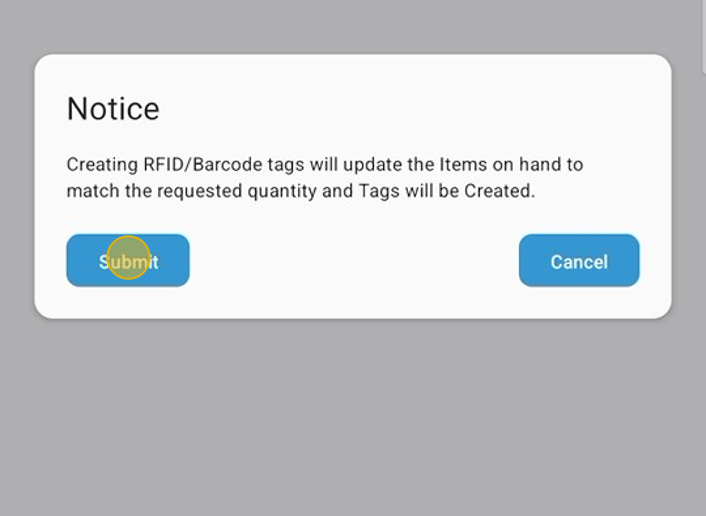
13. New products will be put on hand in the location they were scanned. The user will need to go to the web to print the new tags or reprint duplicates already scanned. See Printing Tags for help.
14. Tap here to be returned to the home page.