Use: Allows user to quickly create a transfer pick list for on-hand stock from one location to another location on the web and quickly pick, load, and receive in Mobile at the new location.
User Role: Supplier Admin, Supplier, and Location Manager
Detailed Instructions
Web:
- From left side menu, select Inventory > Stock Status.
- Search/Select item needed to be transferred.
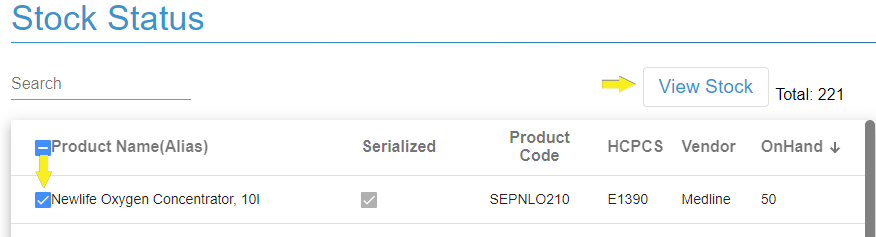
- Click “View Stock”
- Find Location/Sub-Location for transferred from for the item and click on the ellipsis.

- Select Transfer from the ellipsis.
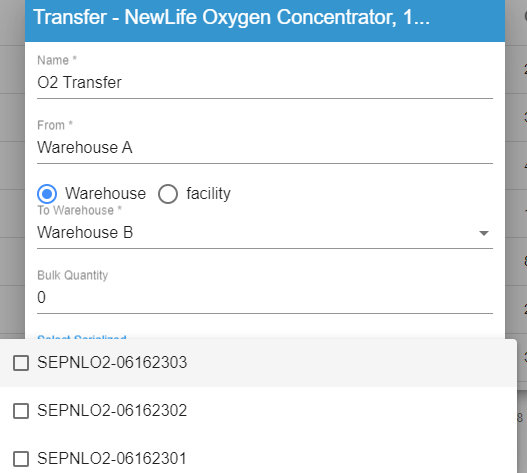
- In the Modal that opens:
- Name the Pick List (Required)
- Select Warehouse or Facility radio buttons (Required)
- Select Facility/Warehouse from drop down.(Required)
- If Barcode or SN selection is not required, enter the number to be transferred in Quantity field. (Required – if not selecting Serial Numbers) Serial Numbers may be selected in the Mobile app when picking the equipment.
- If a specific SN is required, tap the drop down for Select Serialized blank. Choose a Serial Number. (Required)
- Tap Confirm
- In the new Modal that opens. “Confirm the Transfer Order” by clicking Confirm. (Optional enter a reference for the Transfer Order.
- To view Transfer Order by selecting Inventory > Pick List from Left Side Menu.
Mobile:
Pick List
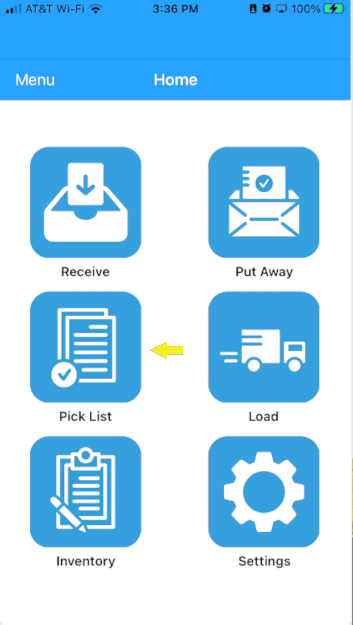

- From Home Screen
- Tap Pick List
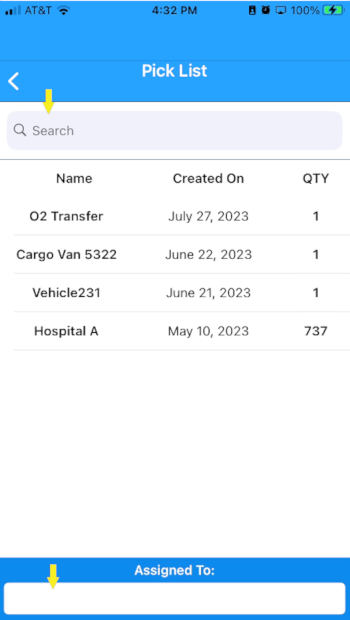
- Select Warehouse and then tap Done.
- Tap on the Transfer Pick List name. Search box may be used at the top to find a Pick List and Pick List may be assigned to a user. (List will be automatically assigned to signed in user if not assigned in the box.)
- Tap Next.
- Once picked, Tap Item button. Tap Next and confirm it has been picked by tapping OK.
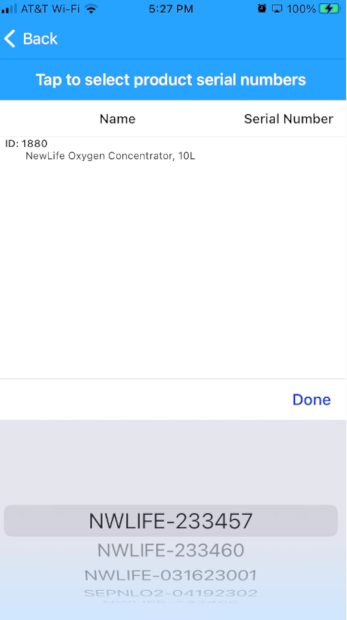
- If Serial Number was chosen during the creation of the Pick List, complete the pick list by tapping confirm. If selecting the Serial Number while picking equipment, choose the item, then choose the Serial Number. Once completed selecting SN for all items, tap Done (after each one and then tap the next item, repeat) once all items are done and then Tap “Confirm.”
Load
- Loading screen will open. (Load can be selected from the Home Screen). Select location where Pick List is transferring from.
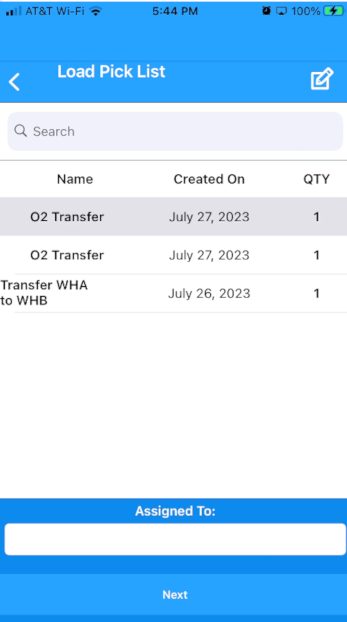
- Tap on the Transfer Pick List name. Search box may be used at the top to find a Pick List and Pick List may be assigned to a user. (List will be automatically assigned to signed in user if not assigned in the box.)
- Tap Next.
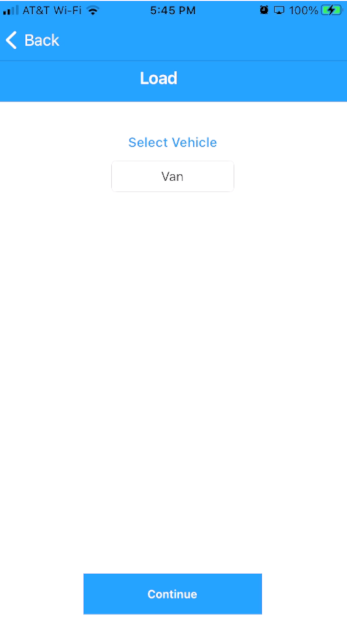
- Tap Vehicle name to open drop down. Select vehicle to load Pick List on. (If a vehicle is assigned to user in Users, it will automatically be assigned the Pick List to be loaded on – User may change that here.) Tap Done and then Continue.
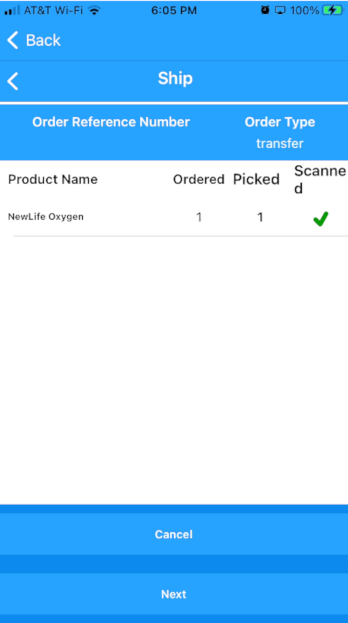
- If Scanning is required on inventory movement, Scan the items and a green check will appear beside the scanned items. Once all items are scanned click Next or If Scanning not required, Tap Next.
- Tap OK to confirm loading on the vehicle and return to the Load Selection screen.
Receive
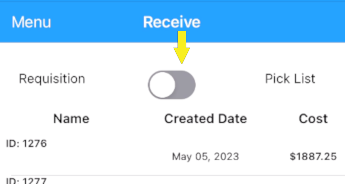
- From Home Screen tap Receive
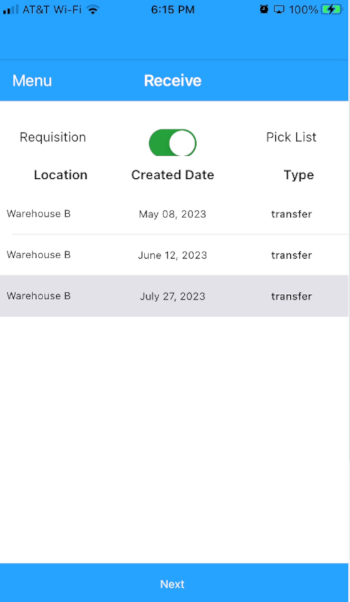
- Toggle switch at the top of page to Pick List.
- Tap Pick List and then next.
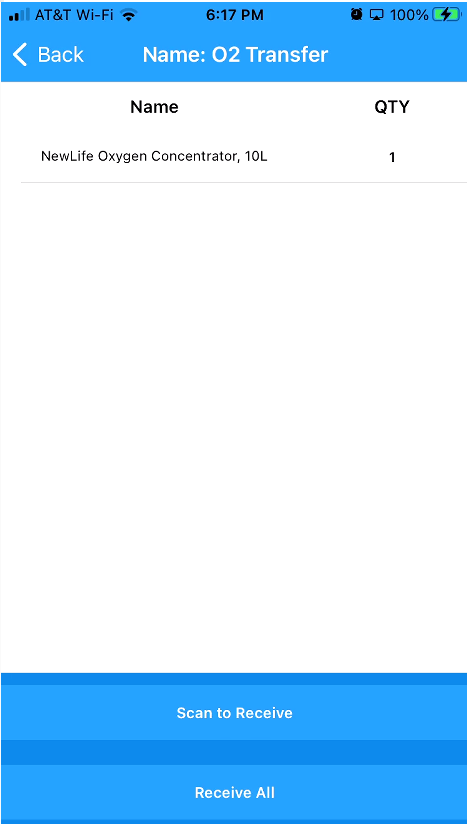
- Tap to Receive All
- Tap OK to complete transfer – will be placed in set default zone.
Quick Steps/TL:DR
Web
- Stock Status, Pick an Item
- View Stock
- Tap Ellipsis for location to be transferred from, select Transfer.
- Fill in To Location and Qty or SN.
- Confirm Order/Pick List Creation.
Mobile
- Tap Pick List
- Select Location, Then Select Pick List
- Confirm all items Picked.
- Select SN from drop down if Serialized and not chosen before.
- Confirm.
- Load Screen opens, select location or choose Load from Home Screen/Menu if necessary.
- Select Pick List
- Select Vehicle
- Scan if required or just confirm Pick List is Loaded.
- Tap Receive from Home Screen or Left Menu
- Switch Toggle to Pick List.
- Select Pick List and Confirm.
- Scan or Receive all. (will be received in set default zone.)