Printing Tags from Tag History on the Web
Using Tag History, users can print tags created through the mobile app or the website. The user can search for tag files by searching the RFID or Serial Number of a product or search by user or tag file number to print all tags or selected tags from the file.
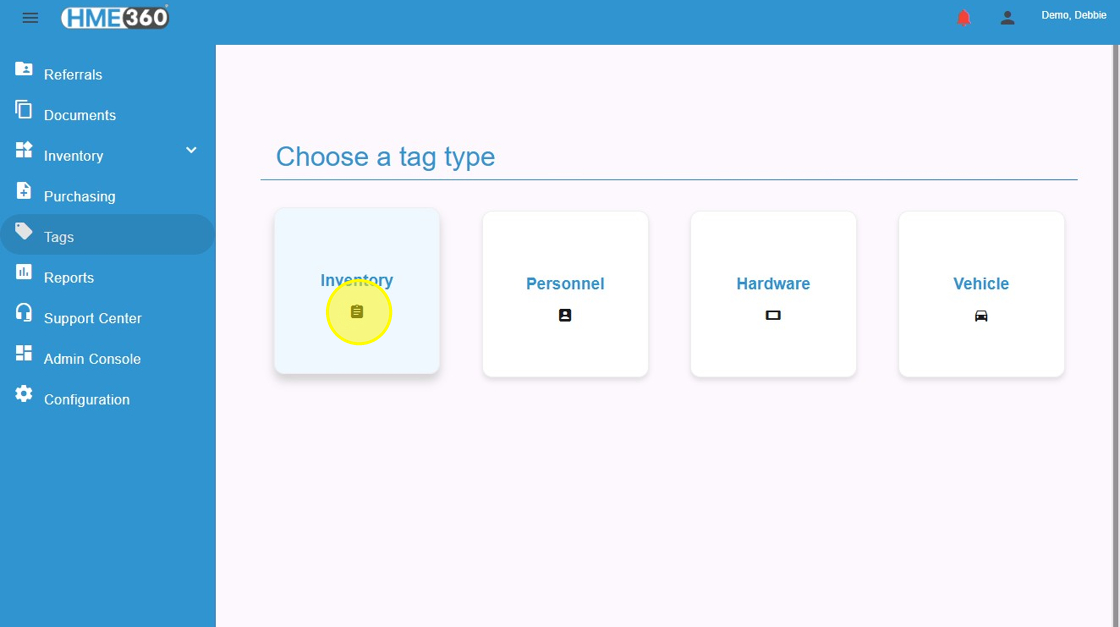
1. Click ‘Tags’

2. Click “Inventory”
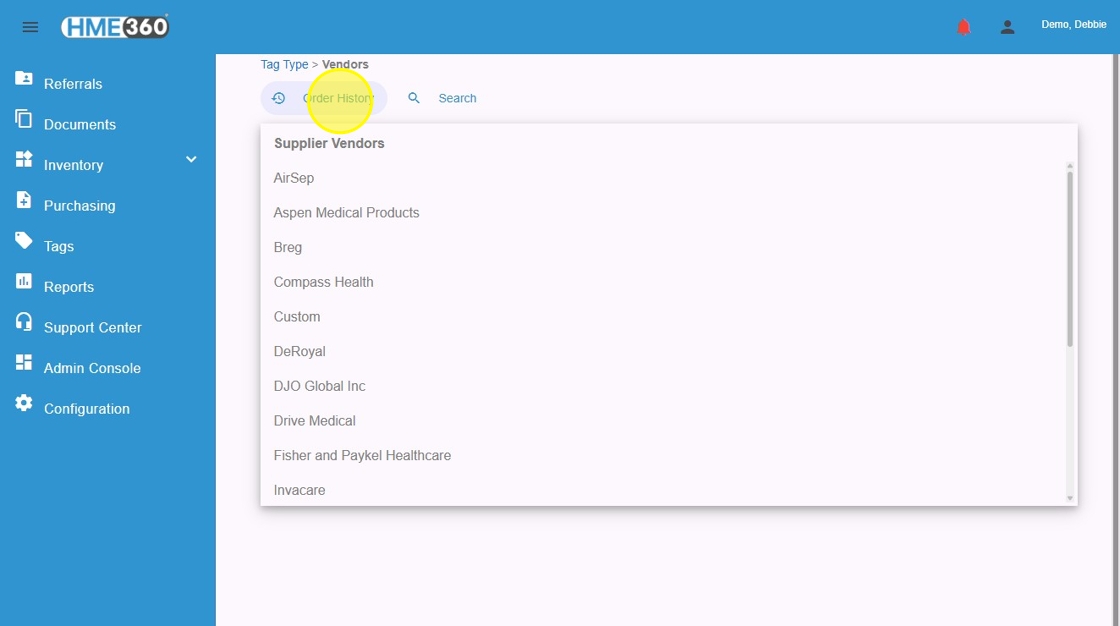
3. Click “Order History”
4. Columns are sortable by clicking on headers. Click in the first “Search” field to search by Order ID or by Order By.
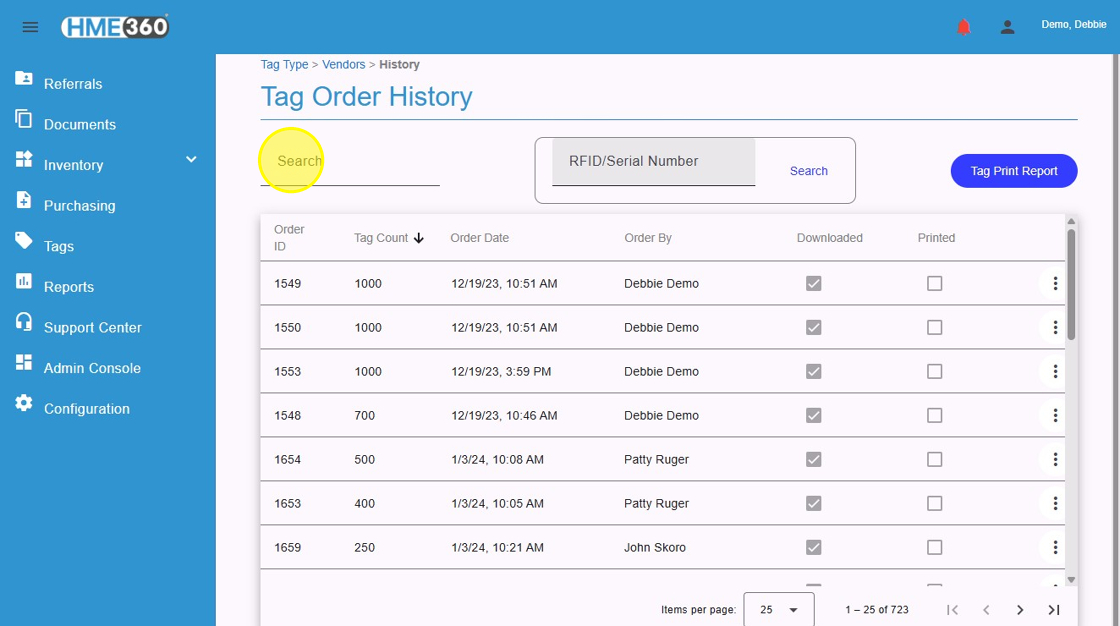
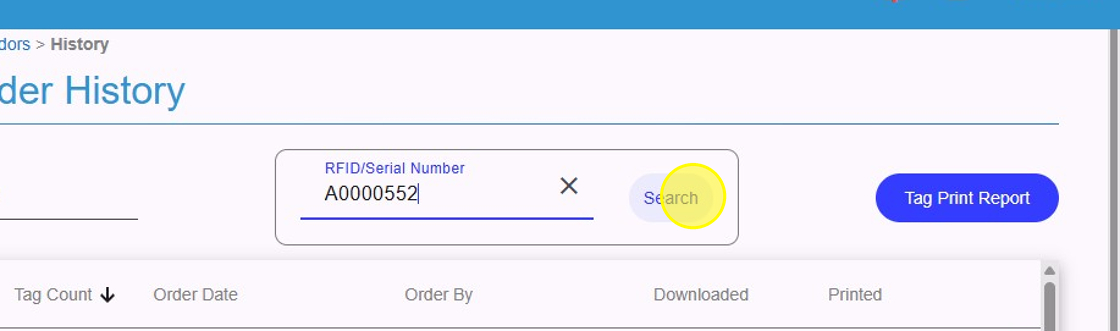
5. Click the “RFID/Serial Number” field and enter the number to select Tag Files with that number in them. (If the screen doesn’t change after a search for RFID/Serial Number, then the system did not find a file with it in it.) Click “Search”
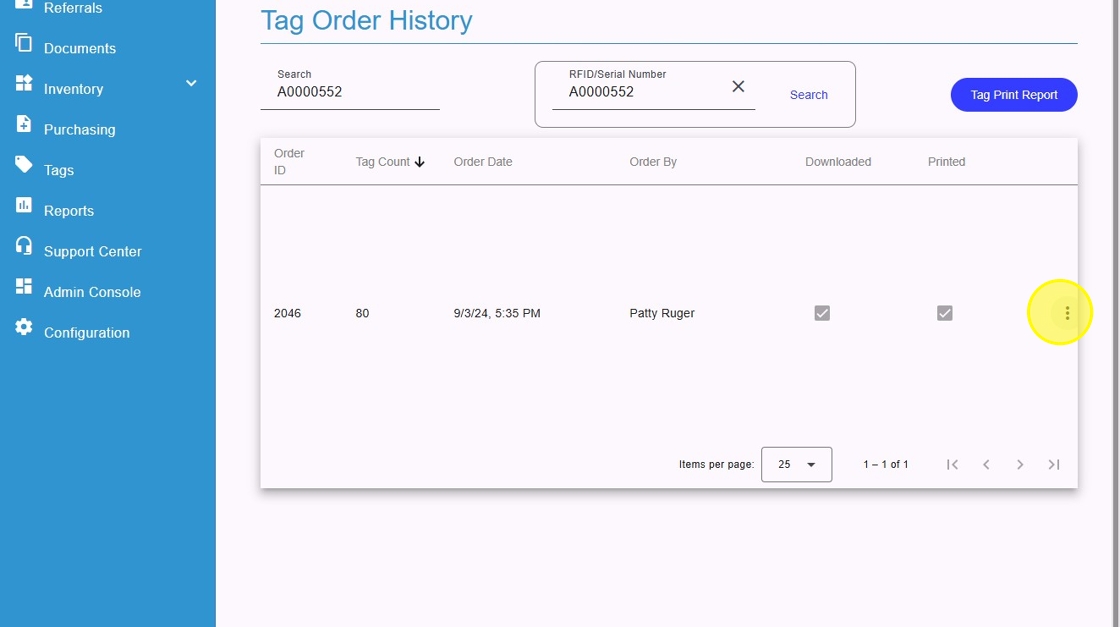
6. After locating the tag file, click the ellipsis at the end of the tag file line (three verticle dots).
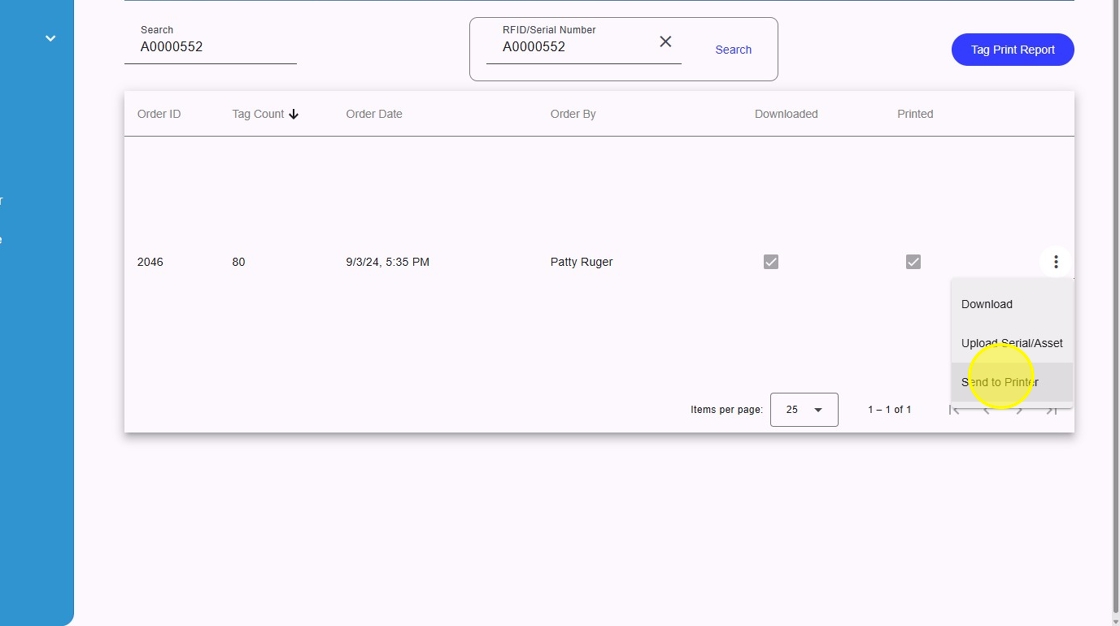
7. Click “Send to Printer”
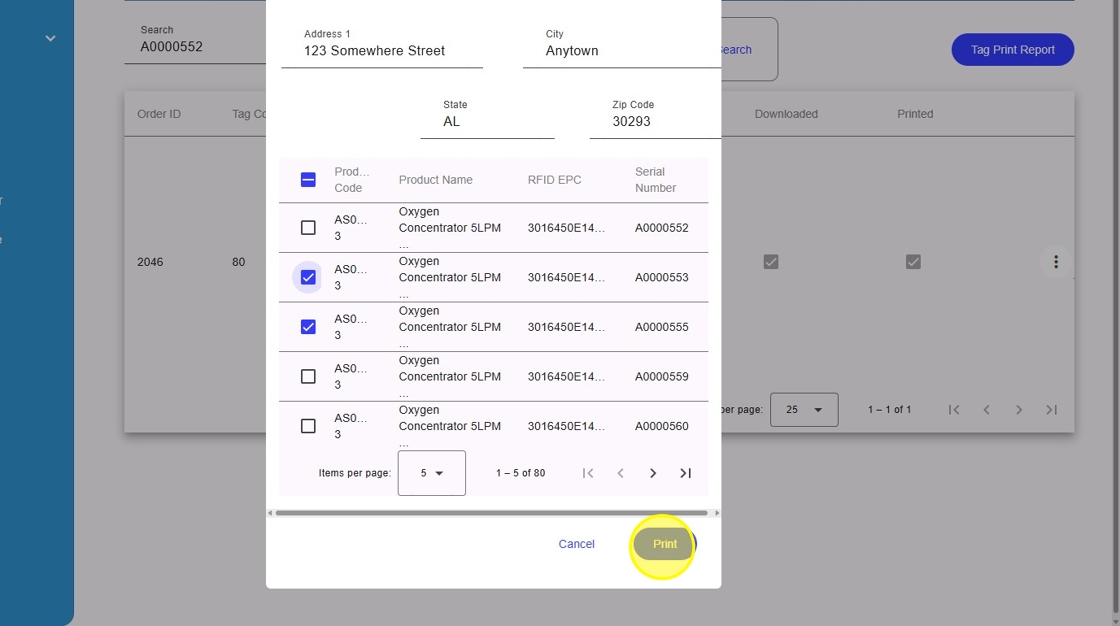
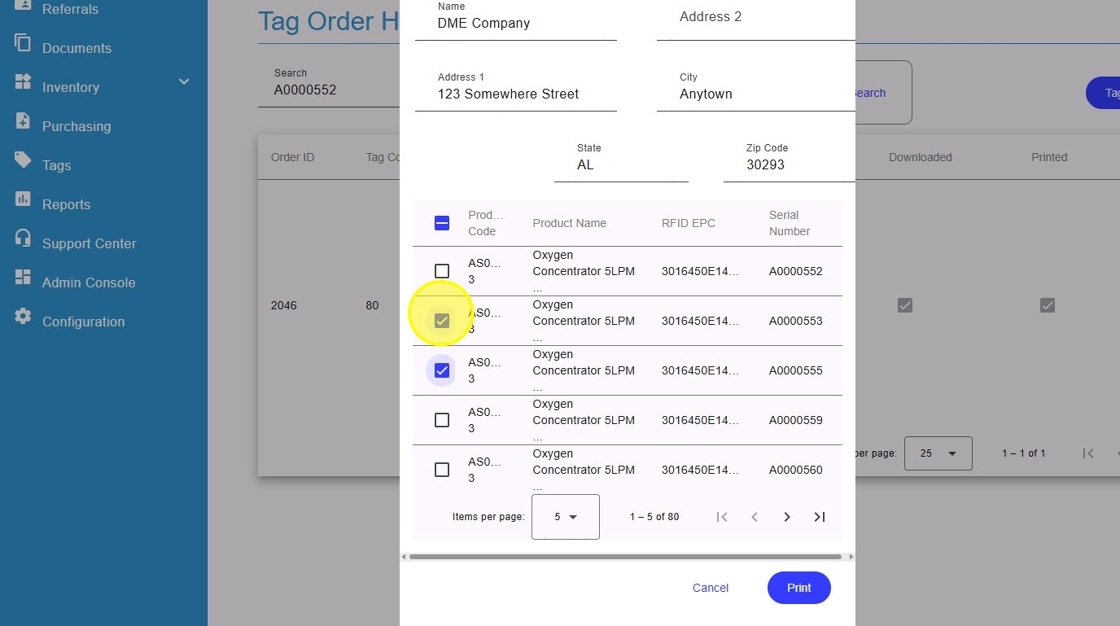
8. Click “Print” to print all tags or unclick the select all checkbox (checkbox in the header row.) to remove all tags selected.
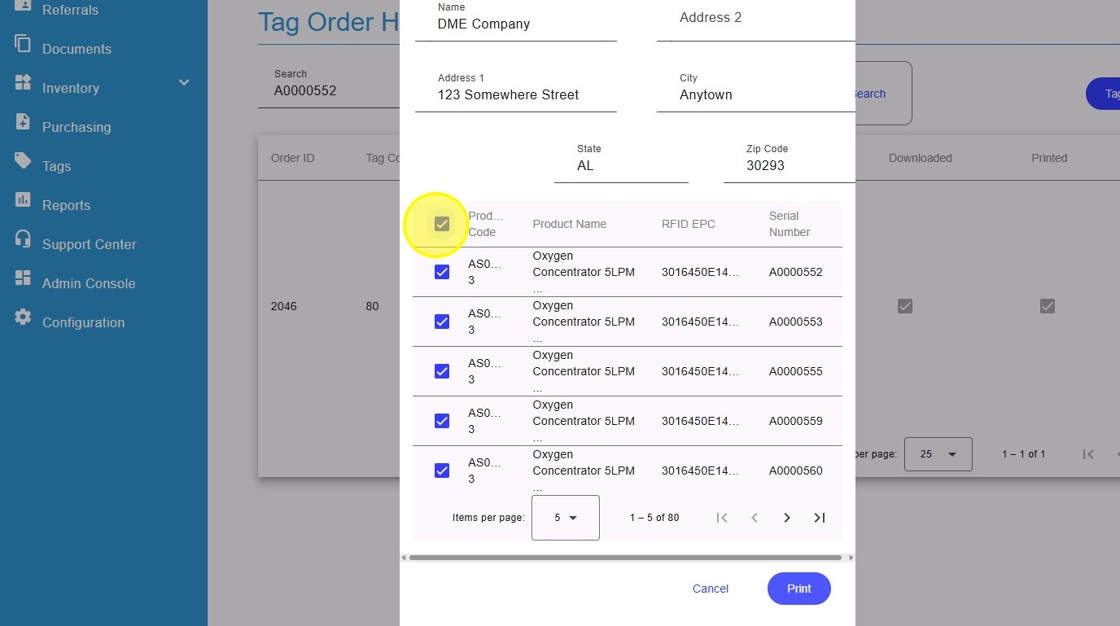
9. Click the checkboxes in front of the tags that need to be printed. (Selected tags will have the checkbox with checks in them.)
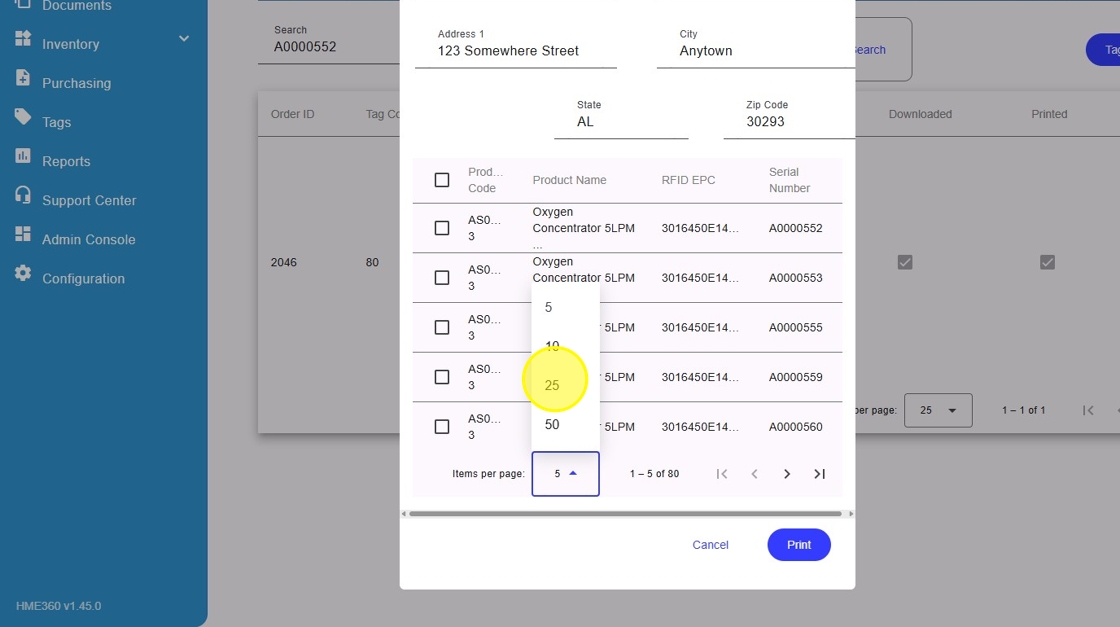
Tip: Tip! Use the dropdown for items per page to increase the amount of tags on a page. This will allow you to see and select more tags at once.
10. Click the dropdown and select the number of tags per page if needed.
11. Select the correct printer in locations dropdown or leave it on default. Click “Print” and select the generic printer installed. Click Print again to print the tags.