Update Flow: Cycle Count
Cycle Count compares what was scanned and what was on-hand in the location (expected). The user will be able to see what was extra (not on hand) and can add those items as on-hand in the location. Items not found on the scan will be sent to the Admin Console as Missing for follow-up.
1. On the home screen, Tap ‘Update’.
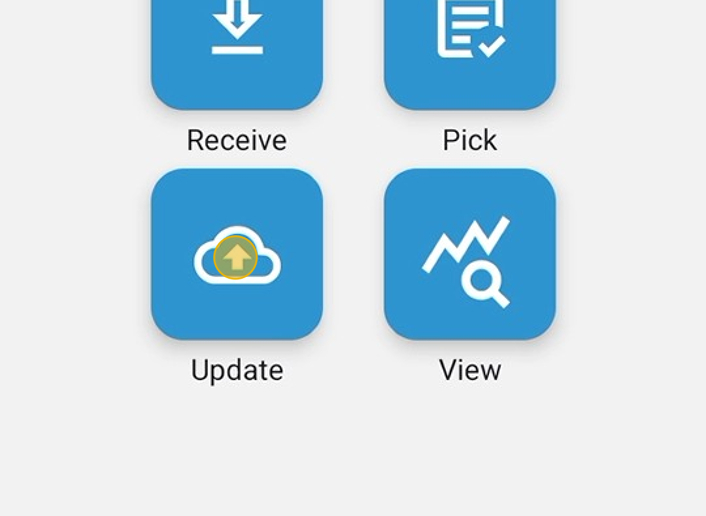
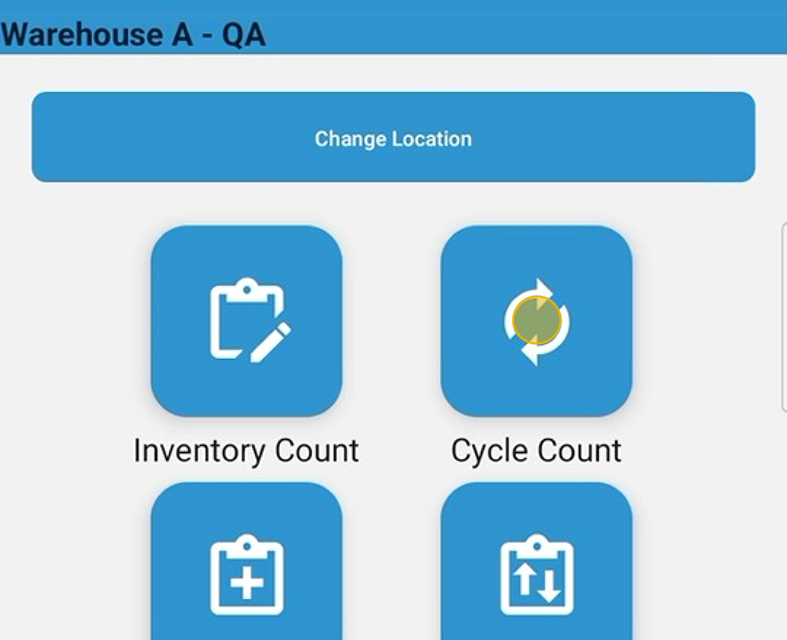
2. On the Updae Screen, Tap ‘Cycle Count’
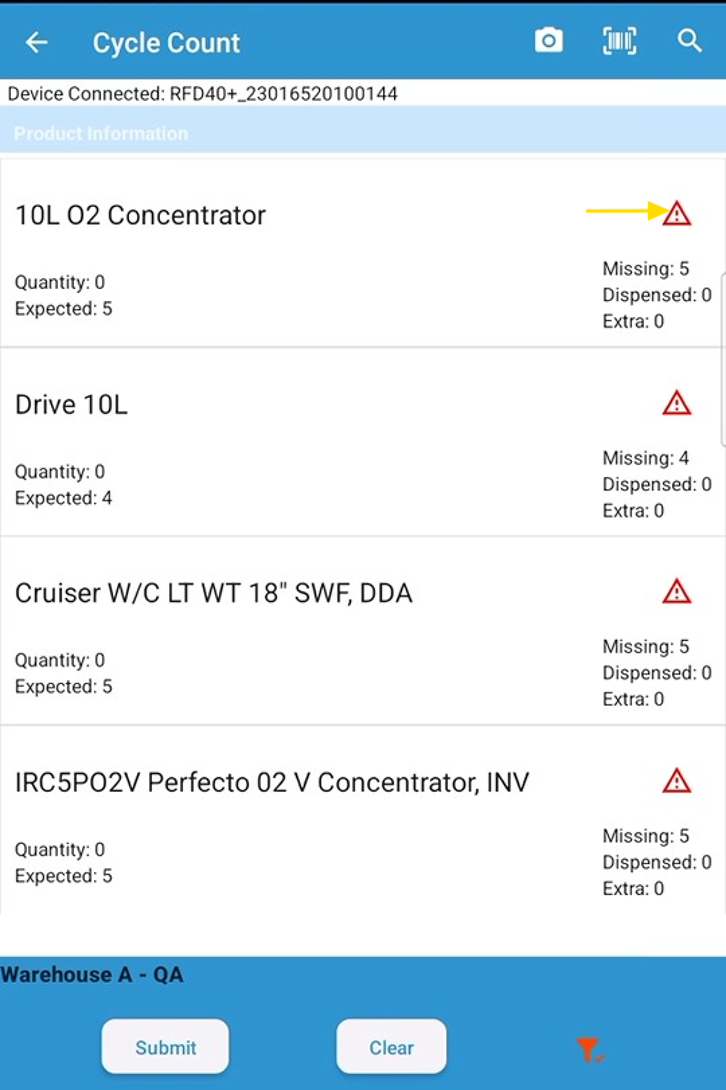
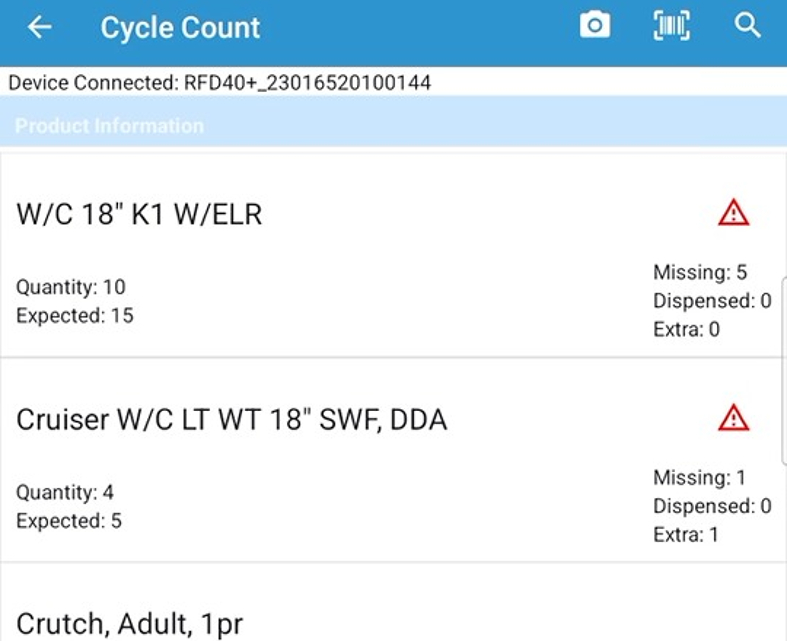
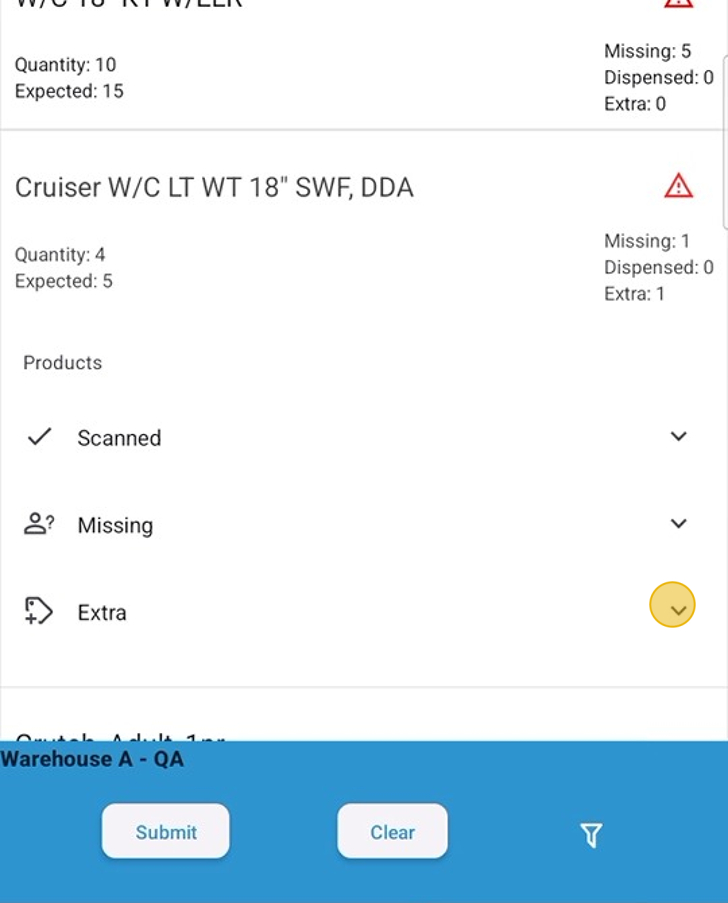
3. The red warning triangle indicates that the scanned amount does not match the expected amount, and/or there are additional amounts that need to be added or reviewed.
- Quantity: Amount Scanned plus Amounts added by the user.
- Expected: Amount that is on-hand in the location at the time the cycle count is started.
- Missing: Products not scanned
- Dispensed: Scanned products that were marked ‘Dispensed’
- Extra: Products scanned that were not on hand in the location.
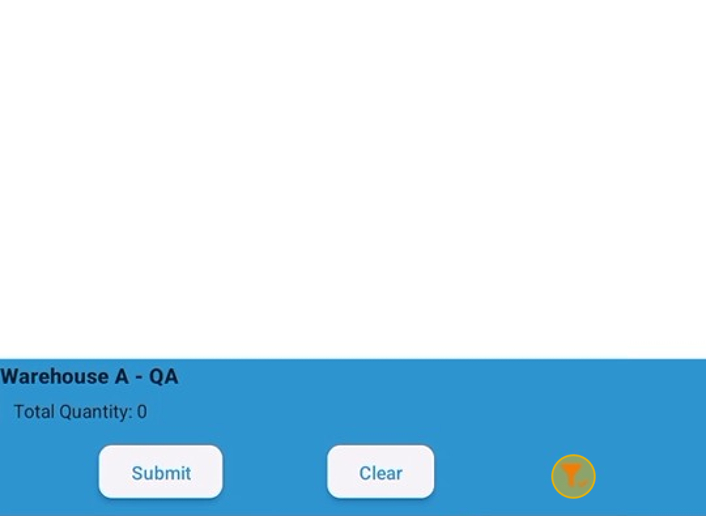
4. Before scanning, check the filter icon at the bottom of the screen. If it is red, tap here.
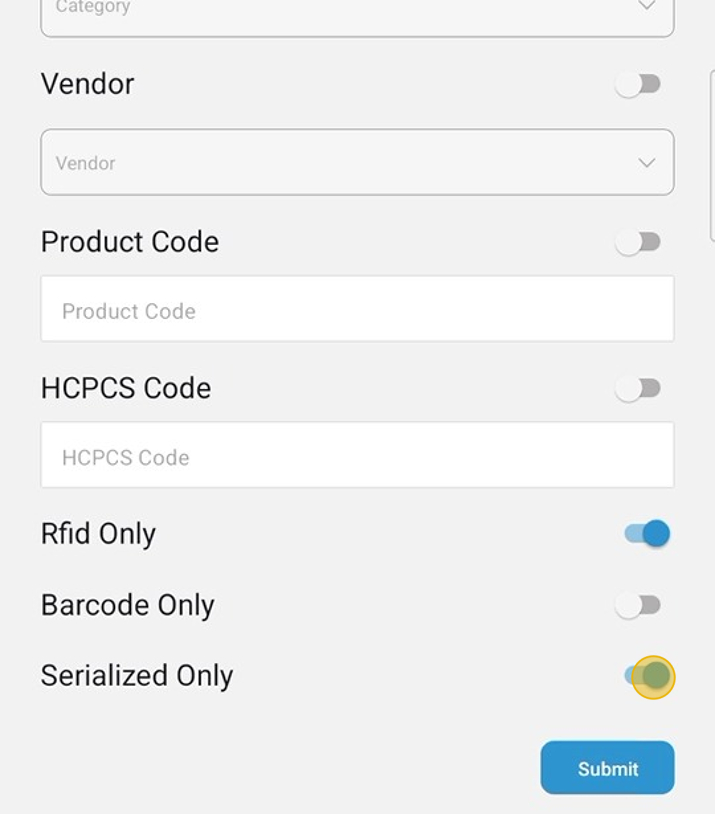
5. Review the filtering. Category, Vendor, Product Code, or HCPCS code can filter items. Change or set to scan only RFID-enabled Products, or Barcode only, as well as for products that are manufacturer-serialized. Be careful! Products must meet all the criteria selected. If RFID only and Barcode only are selected, nothing would show up, as they are mutually exclusive. The toggle beside the filters must be blue to be selected.
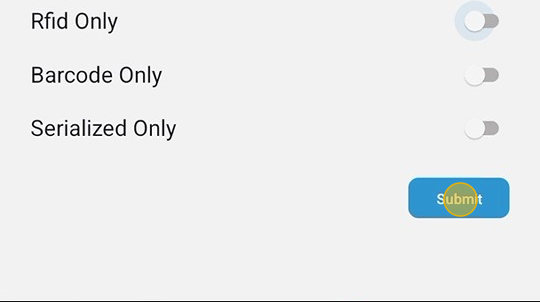
6. Tap Submit to apply the selected filtering. Filtering must be done before scanning.
7. After scanning, the quantity will show the amount scanned. Tapping the product line will show the detail of the product.
8. Tap on the product line to see the details, and Tapping the line again will collapse all the sections and return the user to this view.

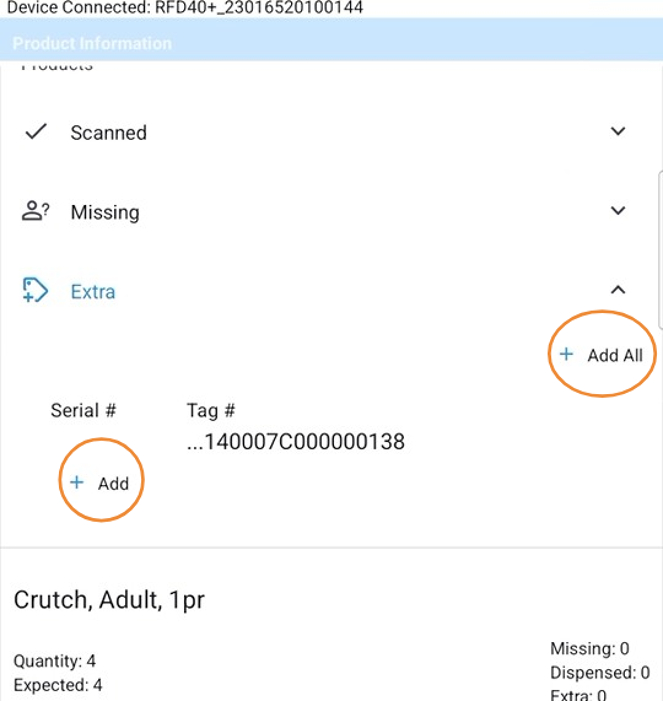
9. Tapping the down arrow on the ‘Extra’ line will show the user the amounts scanned that were not on-hand in this location before the scan. If ‘Auto Add Extra in Cycle Count’ is enabled in settings, extra amounts will be added to the ‘Scanned’ list
10. The user has the option of adding all by tapping on ‘Add All’ or can add one at time by tapping on ‘+ Add’. Any extra amounts not added will not be put on-hand.
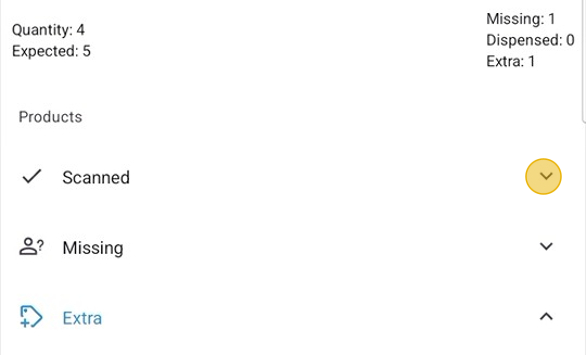
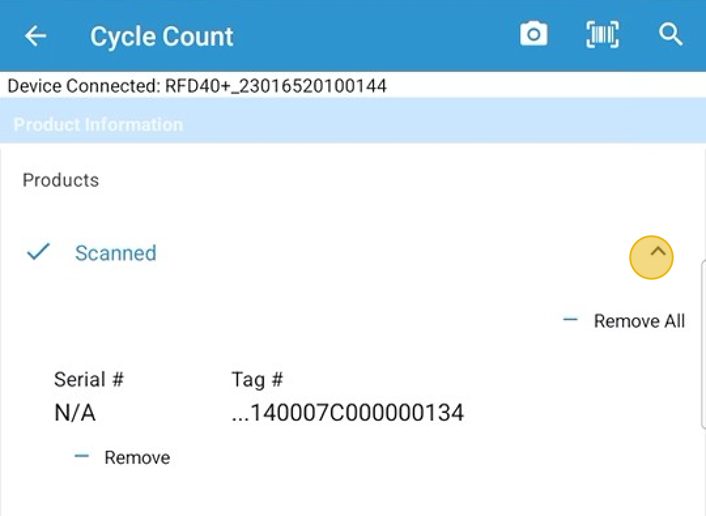
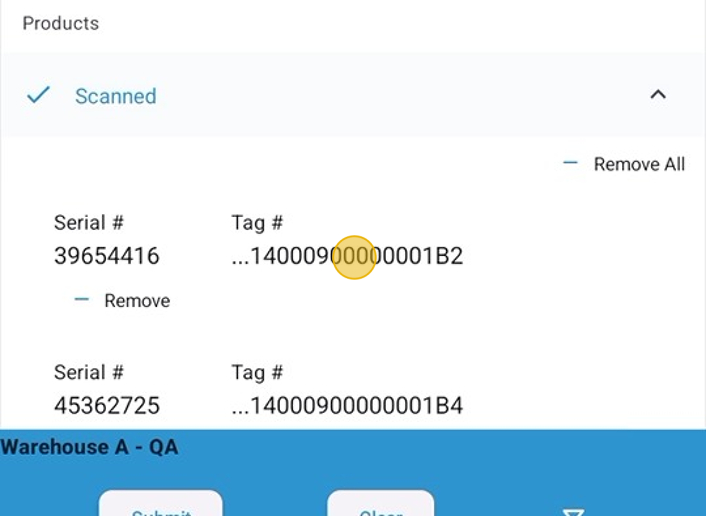
11. Tapping the down arrow opens the list of scanned items.
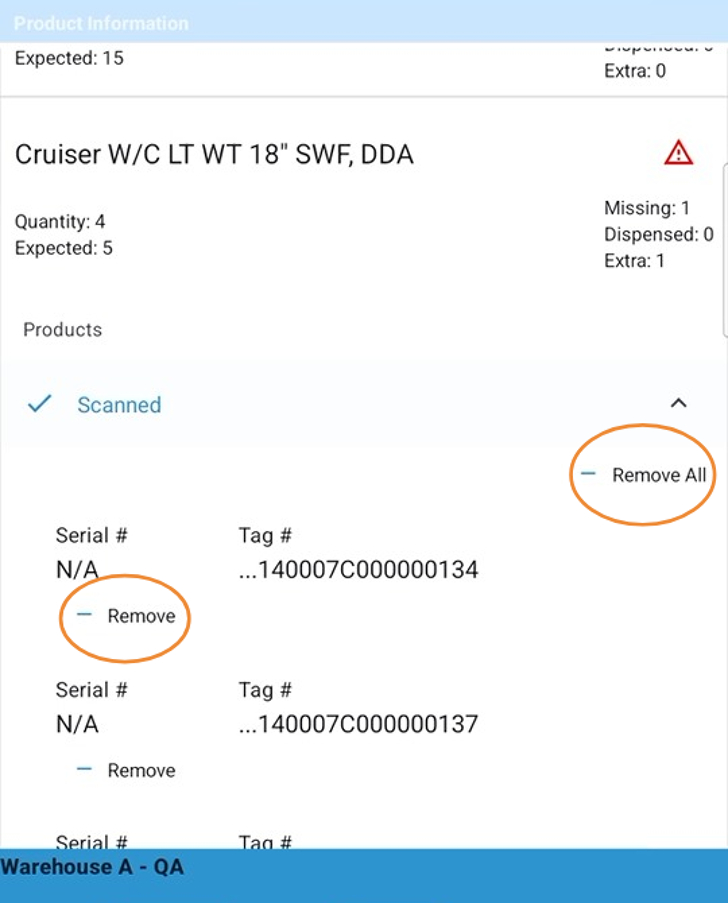
12. Tapping ‘Remove’ will remove a scanned product from the results and adjust the quantity scanned. Tapping ‘Remove All’ will remove all scanned items of that product, and change the number of missing for the amount removed.
13. Tap the up arrow to collapse the section.
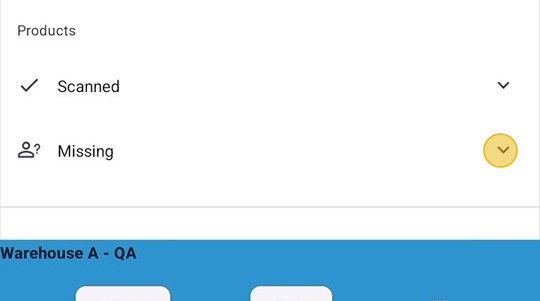
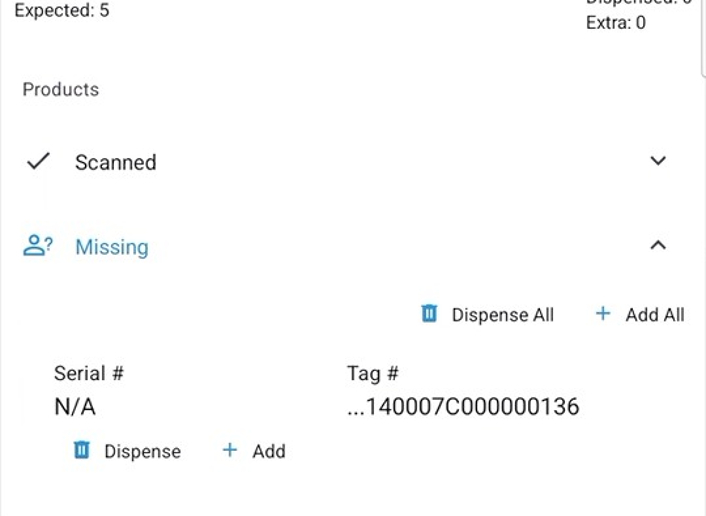
14. Tap the down arrow beside missing to show details.
15. – No Action will route all ‘Missing’ product to the Admin Console when the scan is submitted.
- Tap ‘Dispense All’ will mark all items as dispensed. If a Supplier Admin does not perform this action, they will go to the admin console to be approved.
- Tap ‘+ Add All’ to add all the missing items back on hand in the location.
- Tapping ‘Dispense’ will mark the one item as dispensed. If a Supplier Admin does not perform this action, it will be routed to the Admin Console for approval.
- Tapping ‘+ Add’ will add it to the location as on-hand.
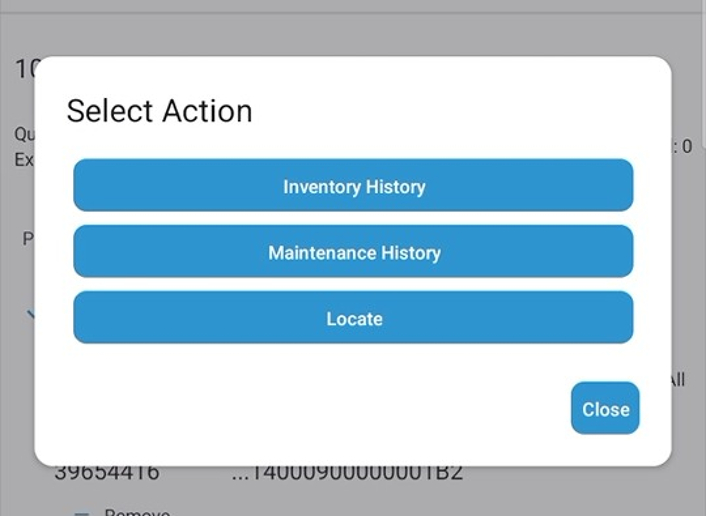
16. Long Press (hold the button until the screen changes) on the details of a tag or serial number to access the more menu.
17. – Tapping on Inventory History will open the details to see the history of where the product has been scanned.
- Tapping on ‘Maintenance History’ will open up the details of when maintenance was logged/performed in HME360.
- Tapping on ‘Locate’ will open up ‘Tag Locate’ to locate the product using the on-screen meter
- Tap ‘Close’ to close the menu.
18. Submit when completed.

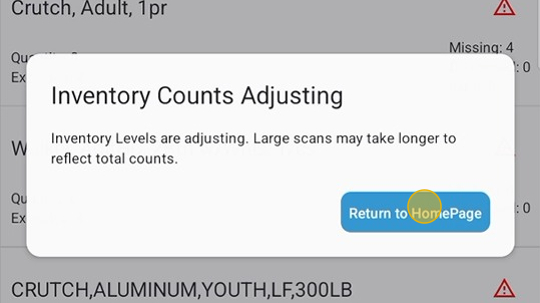
19. Click here