Using Inventory in View
Inventory in the mobile allows the user to view products that are in the selected location. The user can filter products that are or were located in the zone by the statuses Missing, Delay, Intransit, or Suspended. The User can see if a product is below PAR or Long Press to use Tag Locate or see History.
1. On Home Screen, Tap “View”.

2. Tap “Inventory”.

3. The screen will display products in the selected location that are currently on-hand.
- Wrench – indicates that a product has an open repair status. Long Press (press down until the screen changes on the product name).
- Exclamation Point – indicates that a product is listed as On Rent in the Serial Archive from the ERP.
- Red Triangle – indicates that a product is below the set PAR amount.

View Options
4. Tap “Options” to filter the view by statuses.

5. A pop-up will open to display various statuses. Toggling on a status will show products that are in that status.
- Missing – Previously on hand in the location, but the latest updated scan indicates the scanner did not read it.
- Suspended – Tag was read by two antennas in rapid succession repeatedly. Tag read was suspended until it can be relocated to a position where it will not be caught between the antennas. The tag will remain suspended until read by a handheld scanner.
- Delayed/In Transit – Tag was read by an exit reader and put in transit. After a set time, the tag was not scanned back on hand and was marked as delayed.

Tip: Toggle off On Hand to view only the selected status, reducing clutter and screen scrolling.
6. Tap “Close” to close Options. Once options have been selected, the button is outlined in red to show the user that options are active.

PAR Information
7. The red triangle on a product line indicates that the quantity is at or below the set PAR.

8. Tapping on the product’s name with the red triangle will display the quantity for the PAR. Tap Close to return to the inventory screen

Locate
Alert: Equipment or Supply MUST be RFID tagged to use the locate function
9. Long Press (press down on the screen until it changes) on the product’s name.

10. Tap on “Locate”

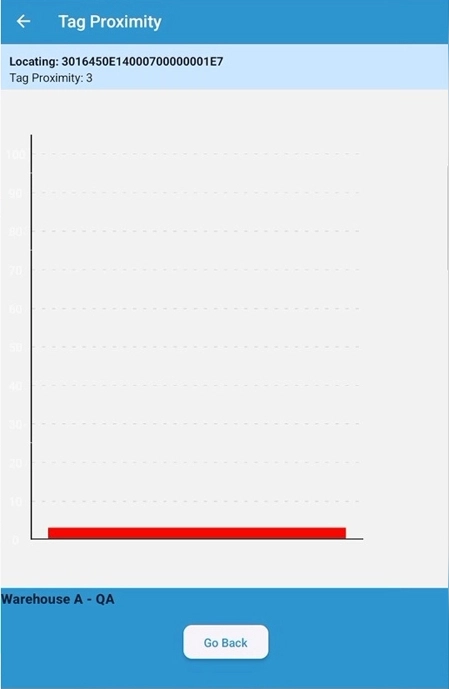
11. Slowly squeeze and release the Trigger on the Scanner, moving the scanner side to side and up/down as you move.
The bar on the mobile screen will appear, and beeping will occur when the tag is detected. The beeping will become more frequent and the bar will increase in size and change from red to green as the distance decreases between the scanner and the tag. Continue to move in the direction of increasing beeps and growth of the bar.
Tip: – If you hold the trigger for too long, the scanner will continue to beep after the trigger is released. Wait until the beeping stops to pull the trigger again.
- The bar will go to 90-100 when you are next to it.
- If the screen stops updating, but the scanner is still beeping, tap the “Go Back” Button and long-press on the item again.
12. Tap “Go Back” to exit locate mode.
